

Inked - Makers Quilt
Tattoos that even Mom will approve of!
Today I am so excited to share with you my latest design, my INKED - MAKERS QUILT! Let me take a moment to tell you a little bit about how it came to be!
Over the past few years I have been making appliqué and embroidery pillows for my Mom on special holidays, such as her birthday, Christmas and Mother’s Day. I always try to come up with something unique and different and became intrigued by one of the latest avenues of art and expression .. the tattoo! I have always loved the “Mom” tattoos that people adorn themselves with and found them to be such a testament of ones love for their Mother. So I decided for that particular Mother’s Day pillow the inspiration would be just that!

I posted a pillow of my “Mom” pillows on my Instagram page and got a great response. I realized that I just might be onto something that people were looking for … a way to have tattoos without any fear that they might later regret having them. I was also searching for ways to extend my reach to include a younger market and spark their interest in machine embroidery. And so my INKED Series of embroidery and appliqué tattoos was born!!
Inked - Sewing and Quilting
I asked my daughter’s friend Heather Corey, who is an artist and illustrator, if I could commission her to illustrate some “sewing” tattoos for me. She said she’d be happy to help.
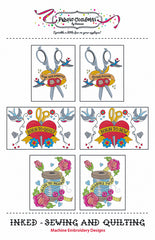
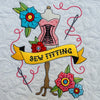
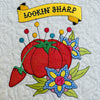
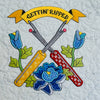
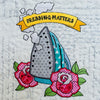
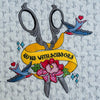
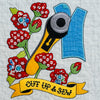
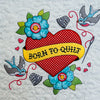
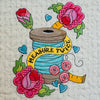
I digitized three of the designs she illustrated for my first “tattoo” pattern. I wanted to start a series so I came up with the name INKED. The first pattern is called INKED – SEWING AND QUILTING and the pattern contains the designs Born to Sew, Born to Quilt, Measure Twice, Stitch Please and Runs with Scissors.
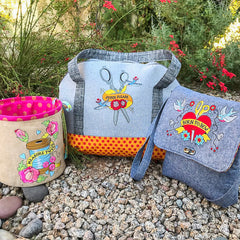
These original tattoo designs were embroidery only – no appliqué. They worked well when they were stitched out on jean jackets, purses, totes etc. I launched the pattern for them at the 2017 Quilt Market in Houston. To date, they have sold very well.
Inked - Let Them Eat Veggies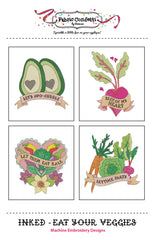

After I digitized this first pattern, I commissioned Heather to illustrate tattoos for several other areas of interest. One that was of particular interest to me was vegetables – due to my youngest daughter being vegan. I wanted to enlist some of our overlooked, but important veggie friends - and present them with a twist. I decided to expand on the ‘play on words’ approach that I had used in some of the original INKED designs. The pattern is called INKED - LET THEM EAT VEGGIES.
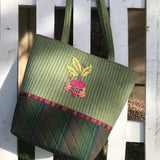
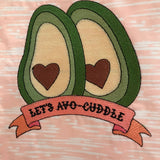
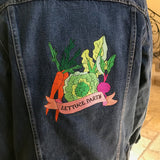
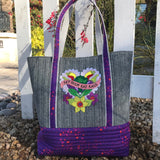
It contains four designs – Let them Eat Kale, Beet of My Heart, Let’s Avo-cuddle and Lettuce Party. Again, these designs are embroidery only and each design comes in three sizes. I released this pattern in Spring 2018. My assistant, Bruce Swinton, spent several weeks making sample purses, bags, totes and aprons using these vegetable designs.
They are light hearted and fun, and always strike up conversation when people see them.
Inked - Makers Quilt

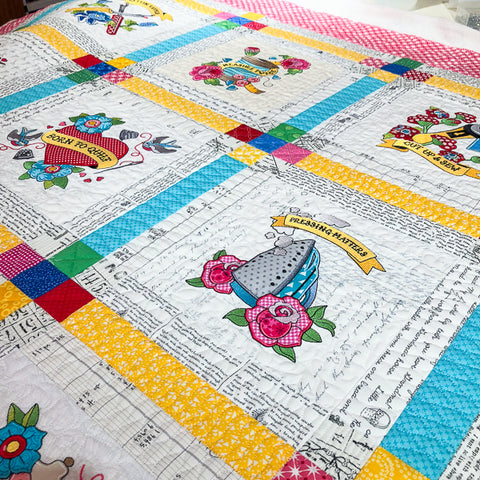
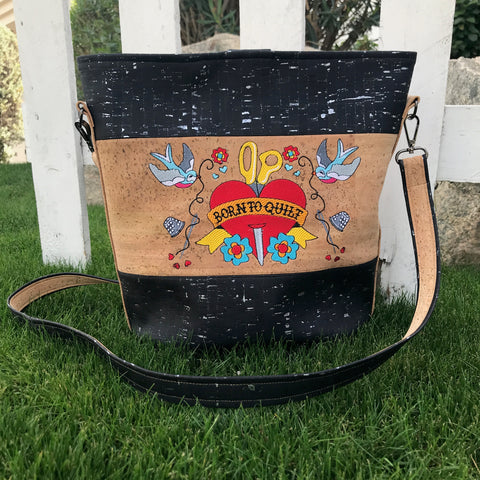
Bruce and I discussed making an INKED quilt, and together, we came up with several tattoo-themed ideas for sewing and quilting. We wanted to encompass many of the aspects of the art that really spoke to people about their craft. I contacted Heather again and commissioned her to illustrate some new designs. One of my goals with this new design was to incorporate appliqué into the embroidery patterns we would use. Allowing the maker to utilize an unlimited source of fabrics would make the quilt extremely individual and could show so many interpretations. We dove right in with excitement. What could be a more exciting project for people who sew, embroider and craft than a quilt that highlights some of these talents?! Plus, I wanted to use that same, fun ‘play on words’ for each of the tattoo blocks.

We started stitching out the designs as I digitized them. This presented a challenge and was probably not the best workflow. Why? We got so excited to see these first blocks “in the stitch”, that we didn’t put quite enough time into fabric color choices for the appliqué. The first blocks stitched were just too color strong and some of the banner ribbons were not the right size. Back up - try again - and get it right! I believe that is how design works best. “If at first you don’t succeed” … well, you know the rest!
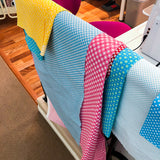
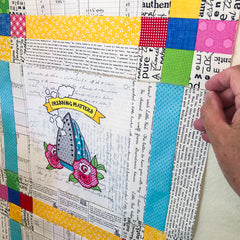
Bruce’s idea was to use low volume as the backgrounds. To be honest, I was not familiar with the term, but I’ve learned fast. Low volume fabrics read as “light” solids, but also have a subtle secondary print. Use of these prints helps to add texture in areas where you might normally only use a light solid.
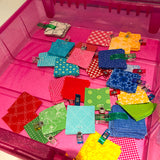
The next design decision had to do with the nine patch blocks. Originally we were going to use red, orange, yellow, turquoise, blue, green, pink, and purple. After we cut up several dozen 2 inch squares in the range of colors we decided it was too vibrant and pulled the eye away from the beautiful embroidered appliqué. We ended up staying with primary colors plus green, turquoise and pink. BINGO!!

I laid out the quilt in Adobe Illustrator and we had a model to work from. I finished digitizing all the designs and did all the embroidery. I used my Silhouette Cameo to cut out all my appliqué pieces. If you’ve never used one, I can’t stress enough how invaluable they are to one who does any kind of appliqué work. There's even a video about cutting on a Silhouette here in my blog posts.
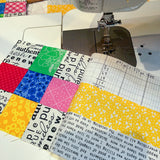
We can’t stress highly enough our feelings for starching fabrics for quilt piecing. Especially when you are working with very small components. There is no other step taken that will better assure expert piecing. Starching is also very important for preparing your appliqué. Instructions for starching are included with all of my patterns.
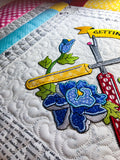
Finally came time for the quilting on my long arm. This is one of my favorite parts of the design process because it’s like doodling on fabric. I like to use two layers of batting - one wool and one 80/20. I first went through and stitched in the ditch and stitched around the appliqué designs. After that I stitched in all the light areas and then went through and matched the thread to all the different sashing and colors in the 9-patch areas. There were a lot of thread changes, but I love the result.

Well, I am so excited to share my INKED series with you. Hope you have as much fun using these designs as we had creating them! Happy embroidery!
Share this
Popular posts
Popular posts
Popular posts
