Skip to content
.
.
.
Site navigation
Search
Search
Fabric Confetti
Search
Account
0
Cart
.
.
.
Site navigation
Close
Search
Search
Cancel
Shop Patterns
All Patterns
Bruce Allen Designs
Alphabets and Small Projects
Banners and Wall Hangings
Bit-O-Color Banners
Quilts and Table Runners
Judy Niemeyer
Embroidered Greeting Cards
Laser Cut Applique Kits
Other Patterns Etc.
Upcoming Events
About
Help
FAQs
Product Registration / Redeem
Account Log In
Pattern Updates
Wholesale
Contact Us
Search
Search
Add order note
Close
Your cart is currently empty.
Shop Patterns
icon-chevron
Expand submenu
icon-chevron
Shop Patterns
All Patterns
icon-chevron
Bruce Allen Designs
icon-chevron
Alphabets and Small Projects
icon-chevron
Banners and Wall Hangings
icon-chevron
Bit-O-Color Banners
icon-chevron
Quilts and Table Runners
icon-chevron
Judy Niemeyer
icon-chevron
Embroidered Greeting Cards
icon-chevron
Laser Cut Applique Kits
icon-chevron
Other Patterns Etc.
icon-chevron
Upcoming Events
icon-chevron
About
icon-chevron
Help
icon-chevron
Expand submenu
icon-chevron
Help
FAQs
icon-chevron
Product Registration / Redeem
icon-chevron
Account Log In
icon-chevron
Pattern Updates
icon-chevron
Wholesale
icon-chevron
Contact Us
icon-chevron
Blog
HappnStance
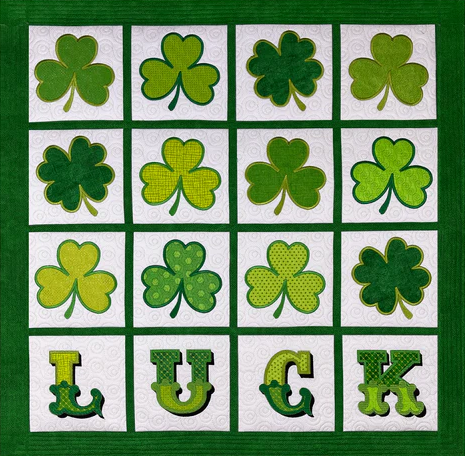
Holiday In-the-Hoop Wall Hangings
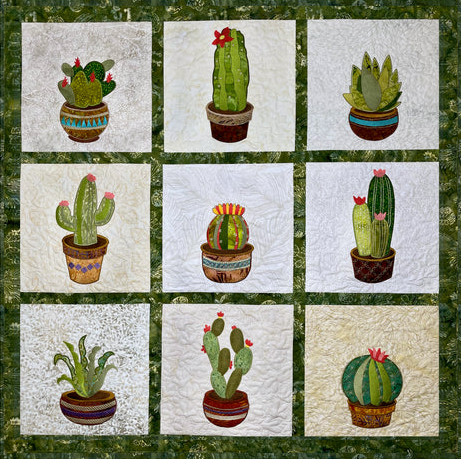
Prickly Blooms Wall Hanging
Sallie Tomato Faux Leather Tour
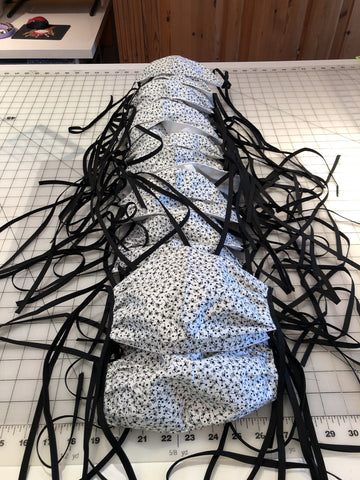
Masks for Heroes!
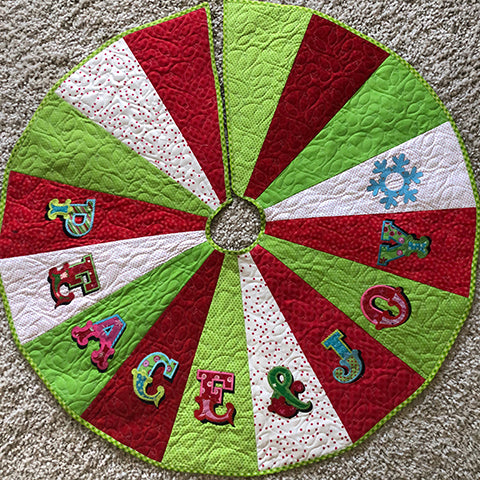
Lil'Elemenopea and June Tailor QAYG Christmas Tree Skirt
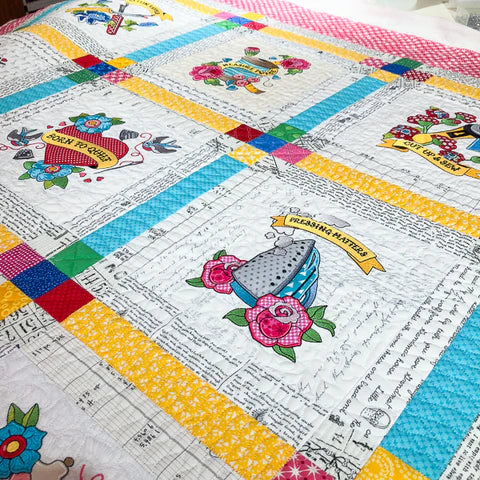
Inked - Makers Quilt
Cutting Fabric with your Silhouette Cameo Video
Coastal Mist Blog Hop- Secretly a Mermaid
1
2
icon-chevron
Next
"Close (esc)"
icon-chevron
"Close (esc)"
Blog