Skip to content
.
.
.
Site navigation
Search
Search
Fabric Confetti
Search
Account
0
Cart
.
.
.
Site navigation
Close
Search
Search
Cancel
Shop Patterns
All Patterns
Bruce Allen Designs
Alphabets and Small Projects
Banners and Wall Hangings
Bit-O-Color Banners
Quilts and Table Runners
Judy Niemeyer
Embroidered Greeting Cards
Laser Cut Applique Kits
Other Patterns Etc.
Upcoming Events
About
Help
FAQs
Product Registration / Redeem
Account Log In
Pattern Updates
Wholesale
Contact Us
Search
Search
Add order note
Close
Your cart is currently empty.
Shop Patterns
icon-chevron
Expand submenu
icon-chevron
Shop Patterns
All Patterns
icon-chevron
Bruce Allen Designs
icon-chevron
Alphabets and Small Projects
icon-chevron
Banners and Wall Hangings
icon-chevron
Bit-O-Color Banners
icon-chevron
Quilts and Table Runners
icon-chevron
Judy Niemeyer
icon-chevron
Embroidered Greeting Cards
icon-chevron
Laser Cut Applique Kits
icon-chevron
Other Patterns Etc.
icon-chevron
Upcoming Events
icon-chevron
About
icon-chevron
Help
icon-chevron
Expand submenu
icon-chevron
Help
FAQs
icon-chevron
Product Registration / Redeem
icon-chevron
Account Log In
icon-chevron
Pattern Updates
icon-chevron
Wholesale
icon-chevron
Contact Us
icon-chevron
Blog
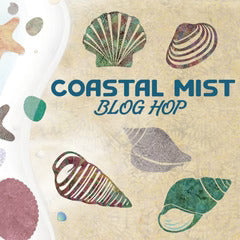
Upcoming Coastal Mist Blog Hop
Cutting Files for the Artistic Edge
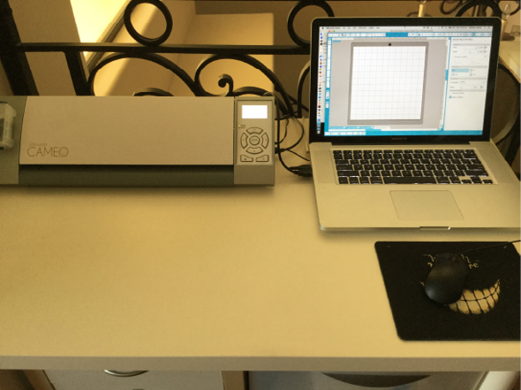
Cutting with your Silhouette Cameo
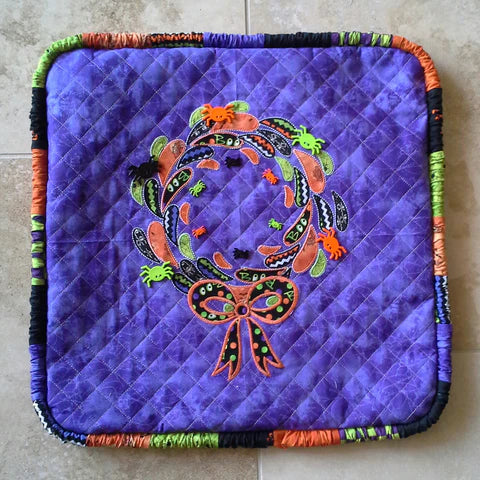
Wreath for All Seasons at Bernina Connection
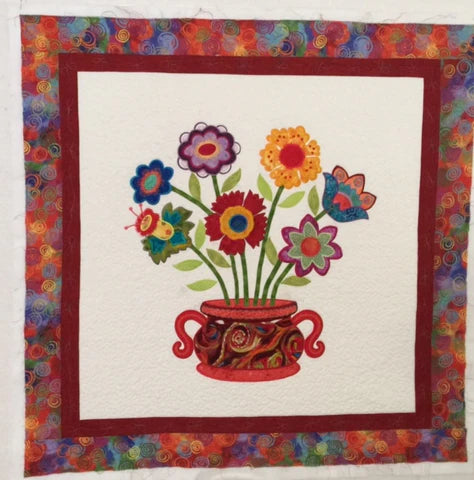
Potpourri Flowers
Studio Spotlight Blog Hop
Red Thumb Reminder
Quick Tip for using Chalkboard Fabric
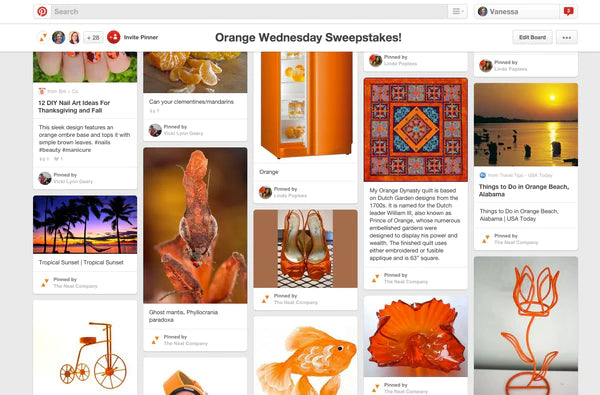
Winner of the Neat Scanner Sweepstakes for Orange Wednesday
Previous
1
2
"Close (esc)"
icon-chevron
"Close (esc)"
Blog